Table Page
Table Page
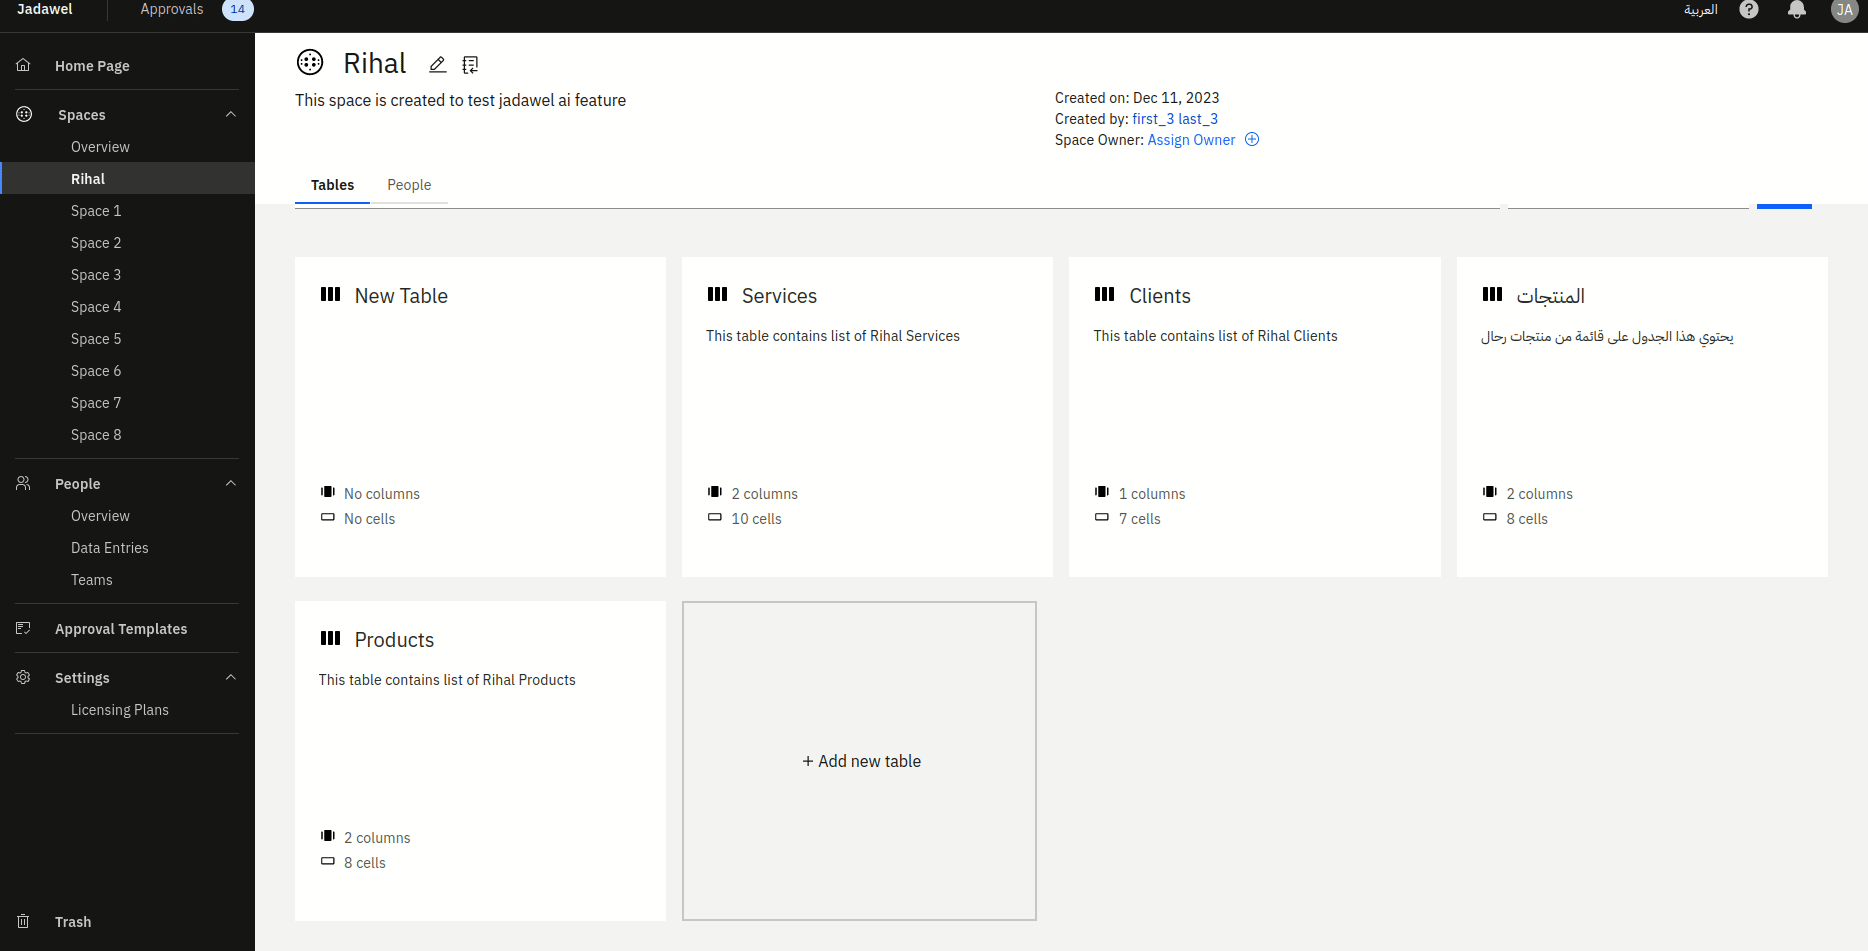
When you click on a table in Jadawel, you will be taken to the table’s details page, where you can view and manage the data and permissions associated with the table. The table details page consists of two main tabs:
Data Tab
In the “Data” tab, you can view all the data in the table, including the columns and their respective values. You can also add new rows or edit/delete existing rows based on your permissions. Additionally, you can add a new column to the table directly from the “Data” tab, allowing you to customize the table’s structure and attributes.
People Tab
In the “People” tab, you can manage the permissions associated with the table. You can control who has access to the table and what actions they can perform, such as viewing, adding, editing, or deleting data, and make adjustments as needed to align with your organization’s data access policies. From the table header, you also have the ability to edit or delete the table, providing you with the flexibility to manage and modify the table’s properties as necessary.
Adding a New Column
To add a new column to a table in Jadawel, you can follow these two simple steps:
Step 1: Column Details
From the “Data” tab of the table details page, click on the “Add Column” button.
Provide the column details, including the column name, column type, and other optional attributes such as regex value, unique constraint, and not null constraint.
Choose the appropriate column type from the available options, such as long text, text, integer, decimal, boolean, date, email, table link, or multi-select, based on the type of data you want to store in the column.
If you want to apply a regex value for the column, you can tick the “Regex” checkbox and define the regex value accordingly.
You can also specify if the column should be unique, meaning that it cannot have duplicate values across rows, by ticking the “Unique” checkbox.
Similarly, you can specify if the column should be not null, meaning that it must have a value for every row, by ticking the “Not Null” checkbox.
Step 2: Set Column Permissions
After defining the column details, click on the “Next” button to proceed to the next step, which is setting column permissions.
In the column permissions settings, you can specify which roles or users should have access to view, edit, or delete data in this column. You can select teams or individual users from the available options and assign appropriate permissions.
Once you have set the column permissions as desired, click on the “Save” button to complete the process of adding a new column to the table. Please note that column permissions play a crucial role in controlling the access and actions that users can perform on the data in the column. Exercise caution when setting column permissions to ensure that sensitive data is protected and users have appropriate access levels as per your organization’s data access policies.